How I Saved Money with these (DIY) Stylish Kitchen Backsplash Tiles
Just a quick note before we dive into the details: Some of the links in this post are affiliate links. This means if you click on them and make a purchase, I may earn a small commission at no extra cost to you. I only recommend products I genuinely love and believe in, and this little bit helps support the blog and keep it running. Thank you for your support and understanding. Happy Reading!
Following my recent blog post about designing kitchen cabinets, I’m eager to share the next step in my kitchen’s transformation journey. Just as I sought something distinct for my cabinets, I aimed to break away from the commonplace subway tile trend for my backsplash. On this quest, I discovered some fabulous, budget-friendly peel-and-stick tiles on Amazon that not only complemented my cabinets but also became a standout feature in my kitchen’s decor. And what’s even better, I could install them myself.
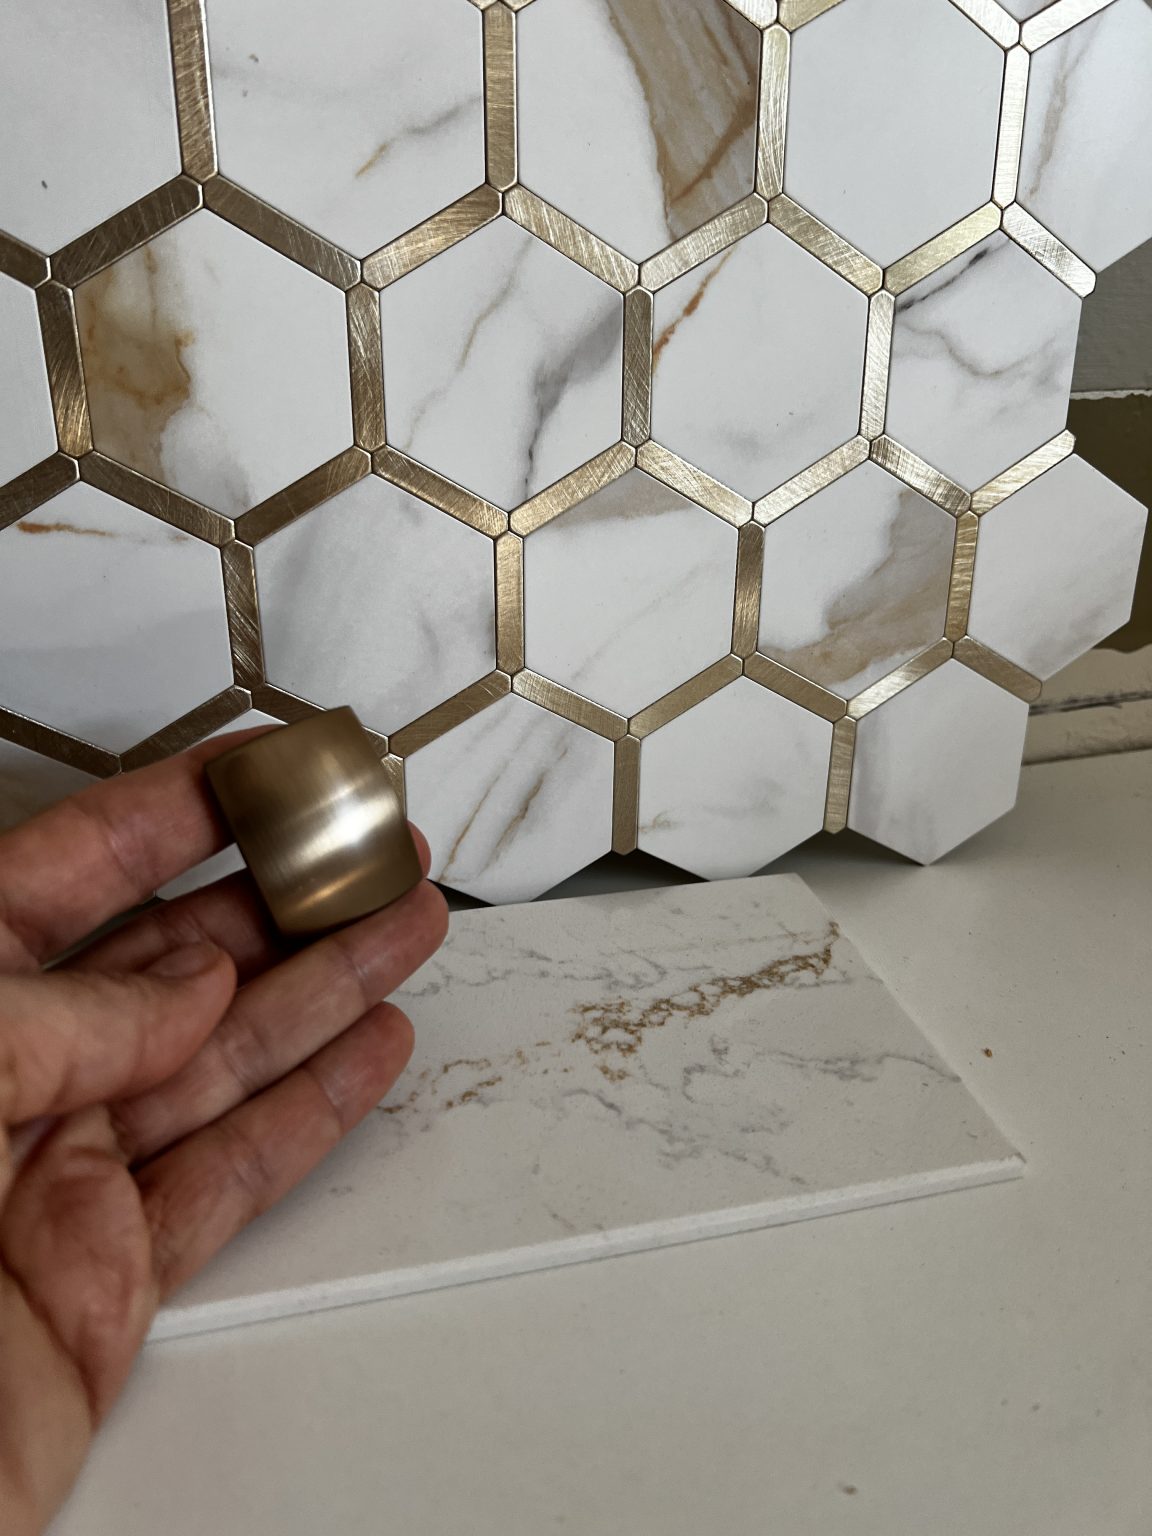
My journey started with a search for the perfect kitchen backsplash. I wanted something chic, durable, and budget-friendly. That’s when I stumbled upon these incredible peel-and-stick tiles on Amazon. They had a realistic marble texture with geometric hexagon metal mosaic patterns.
Initially, I had my doubts about purchasing these tiles, uncertain of what to expect. However, the glowing reviews convinced me to give them a try. After doing some quick math to figure out the quantity required, I took the plunge and bought three boxes for a total of $160.
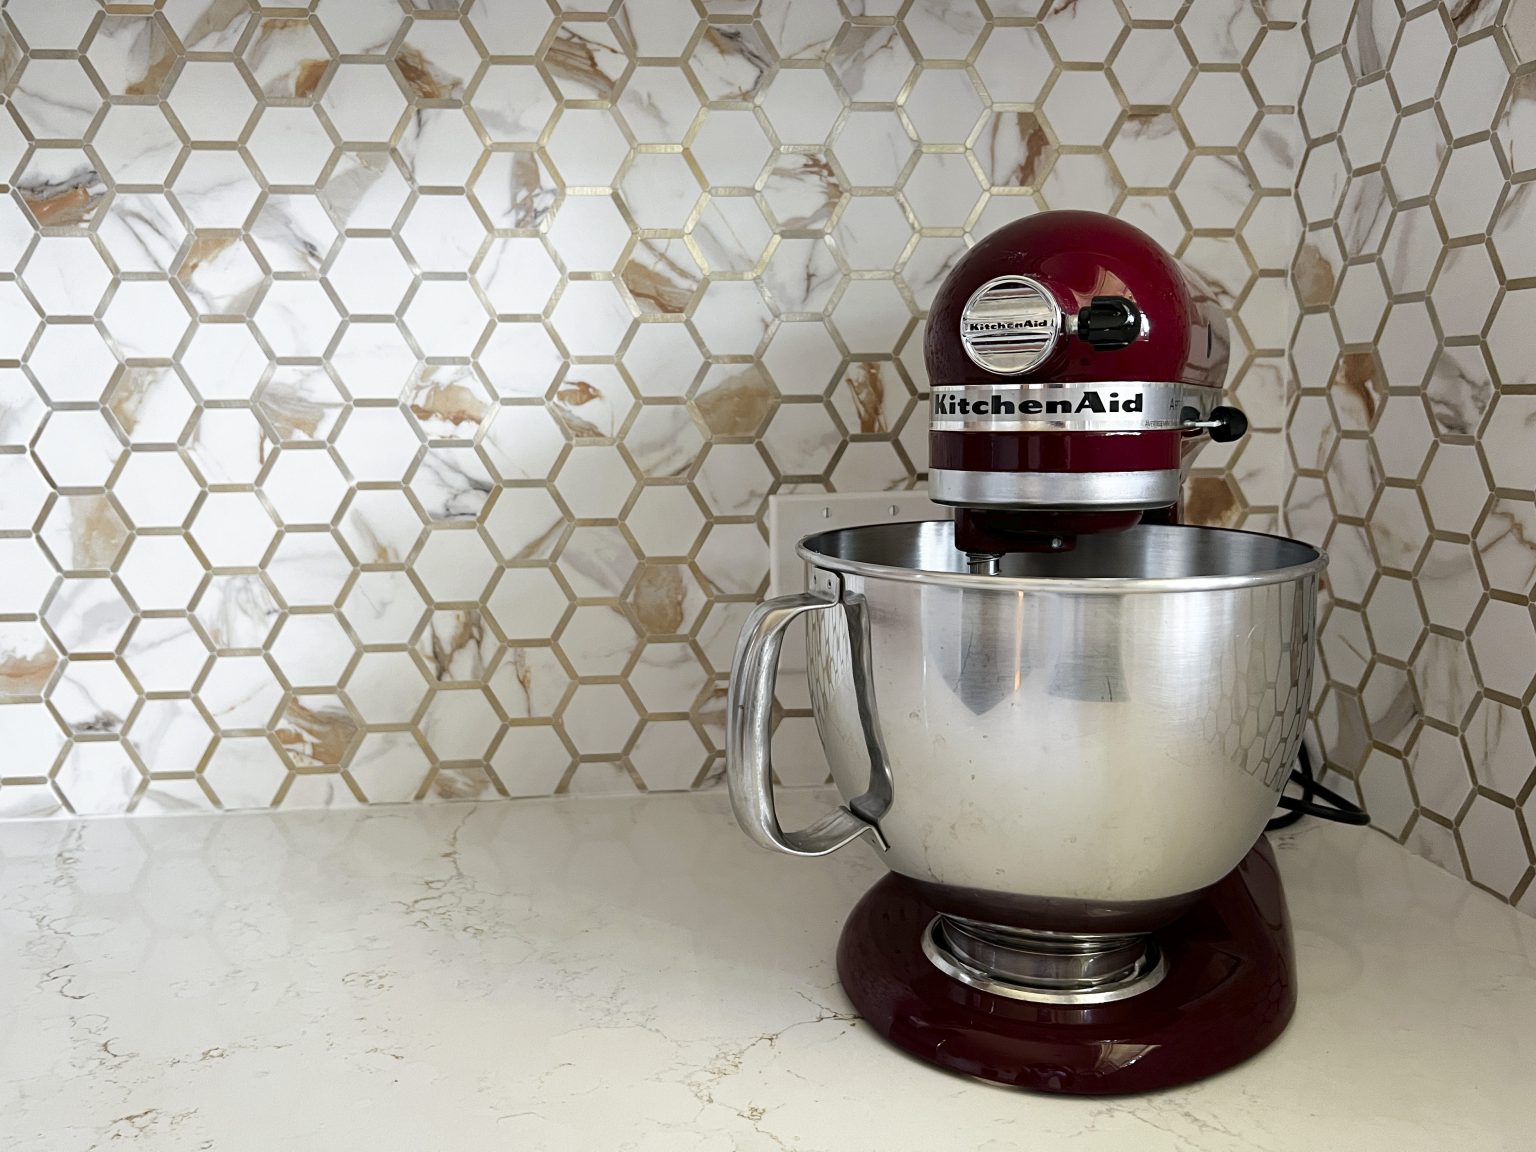
Upon receiving the tiles, I was pleasantly surprised to find that their metal accents matched flawlessly with the finish of the knobs I had previously chosen for all the doors and drawers.
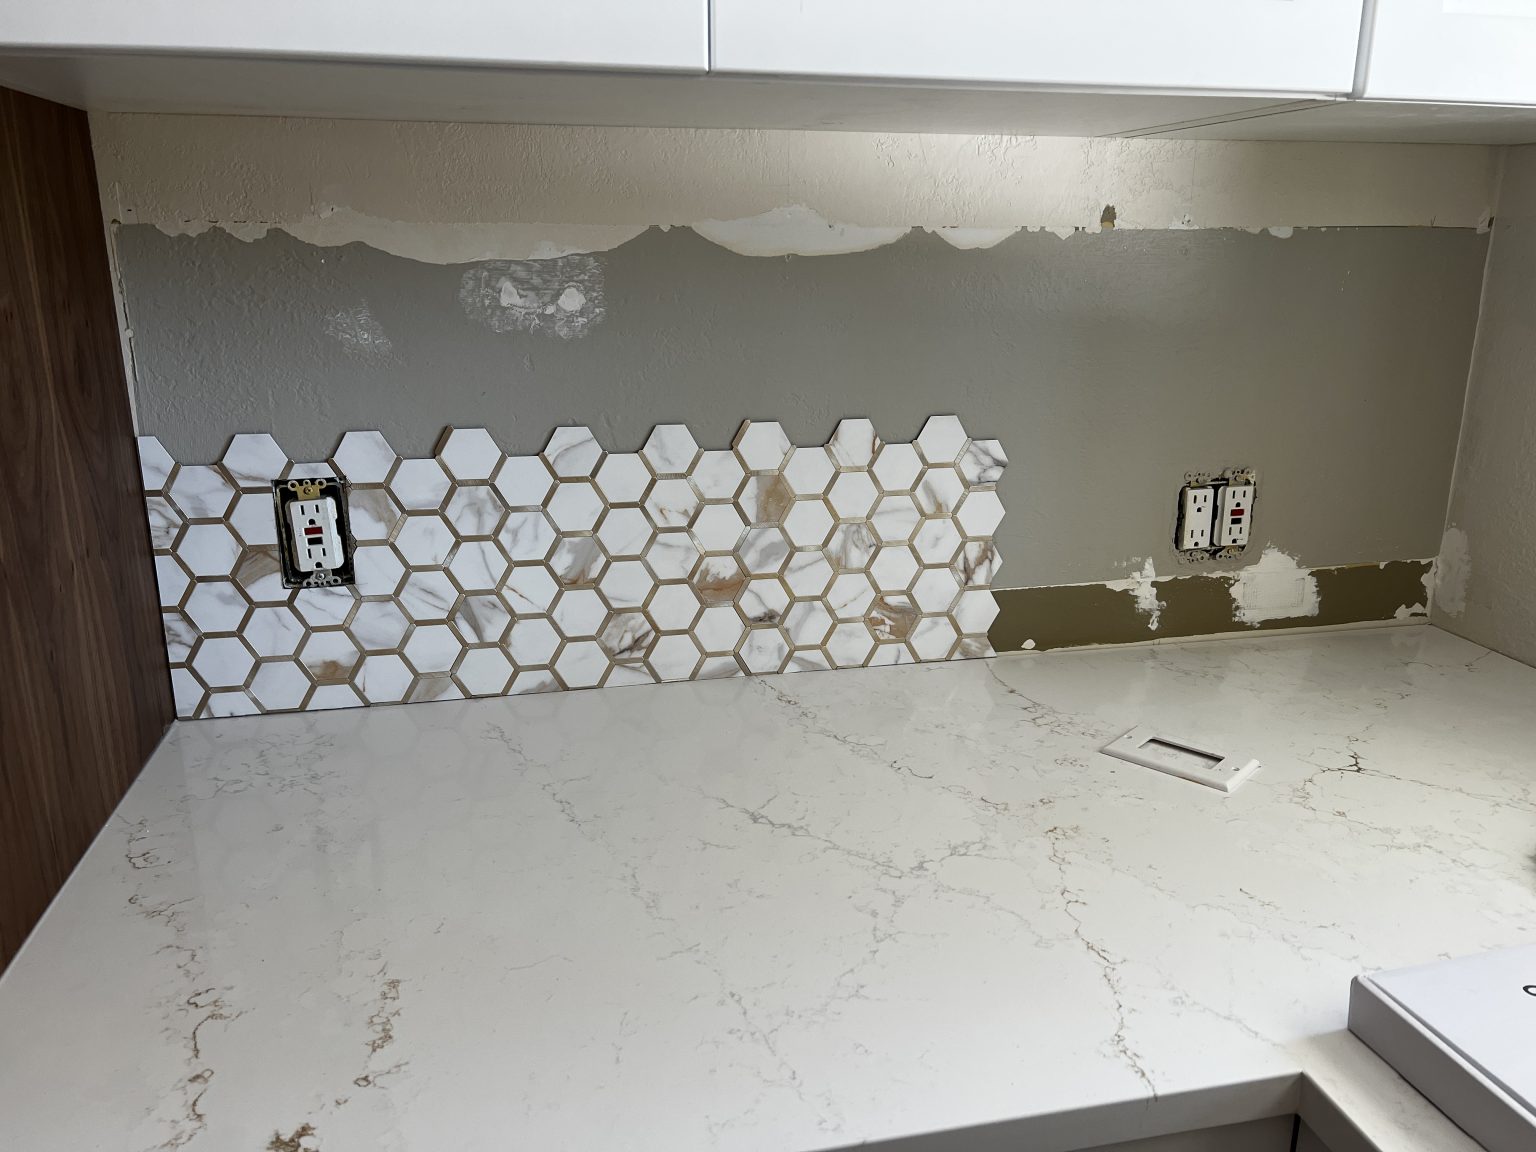
Thanks to their really strong adhesive on the back, it turned out to be a pretty straightforward DIY task. I saved a bunch by not paying for professional installation. Now, it wasn’t super easy, mostly because those hexagon shapes can be a bit tricky. These peel-and-stick tiles are meant to be simple to use – just peel, fit them together, and stick them on. But honestly, it might have been easier if they were a bit bigger and in a simpler shape like rectangles.
For cutting, I used a sharp utility knife. The small pieces, especially the ones with the metal-like look, were a bit tough to cut through, but eventually, I managed.
How I Made the Exposed Edges Blend In
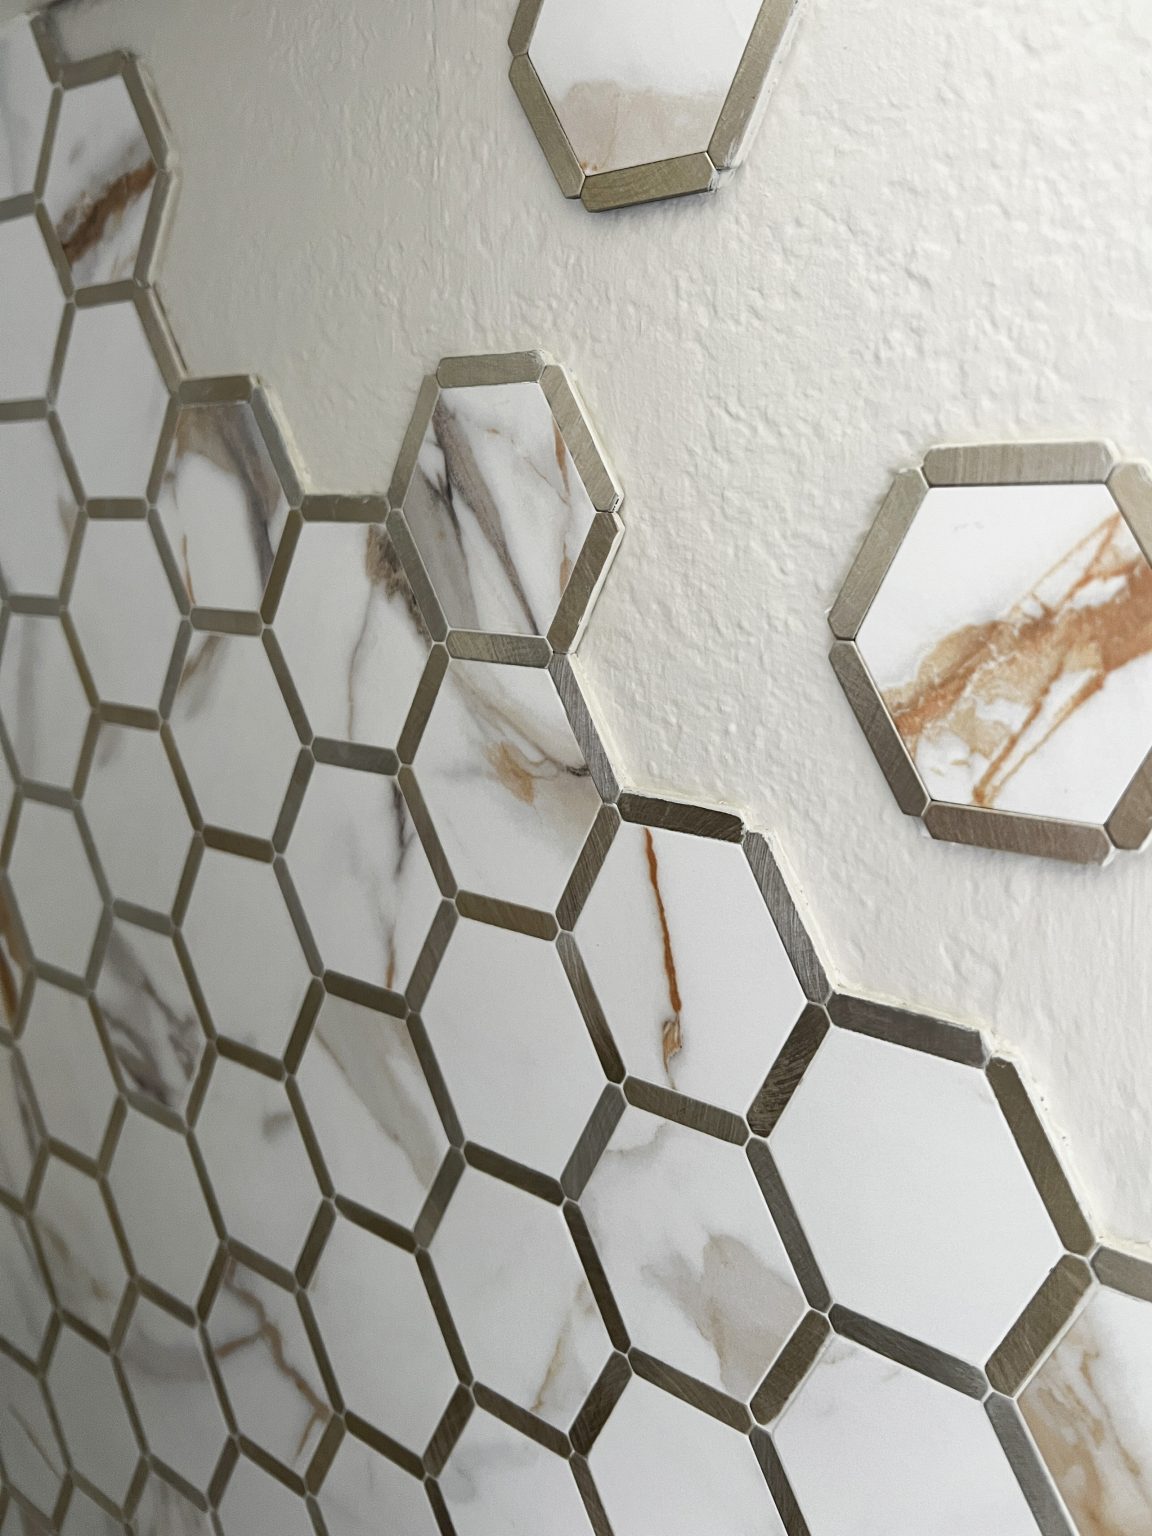
For the edges that were showing, I chose not to go with those peel-and-stick trims. Instead, I made the top part look like there were single hexagon pieces just floating there. Then, I painted those edges with the same color I used on the wall (SW 7042 Shoji White)– I didn’t want them to stand out in black.
I chose to grout the tiles, even though it wasn’t absolutely needed. My main worry was about the area behind the sink, as I wanted to make sure no water could seep through. I also applied white silicone along the edges where the tiles meet the countertop, the cabinets, and the window sill.
Maximizing space above the microwave (and tiling it)
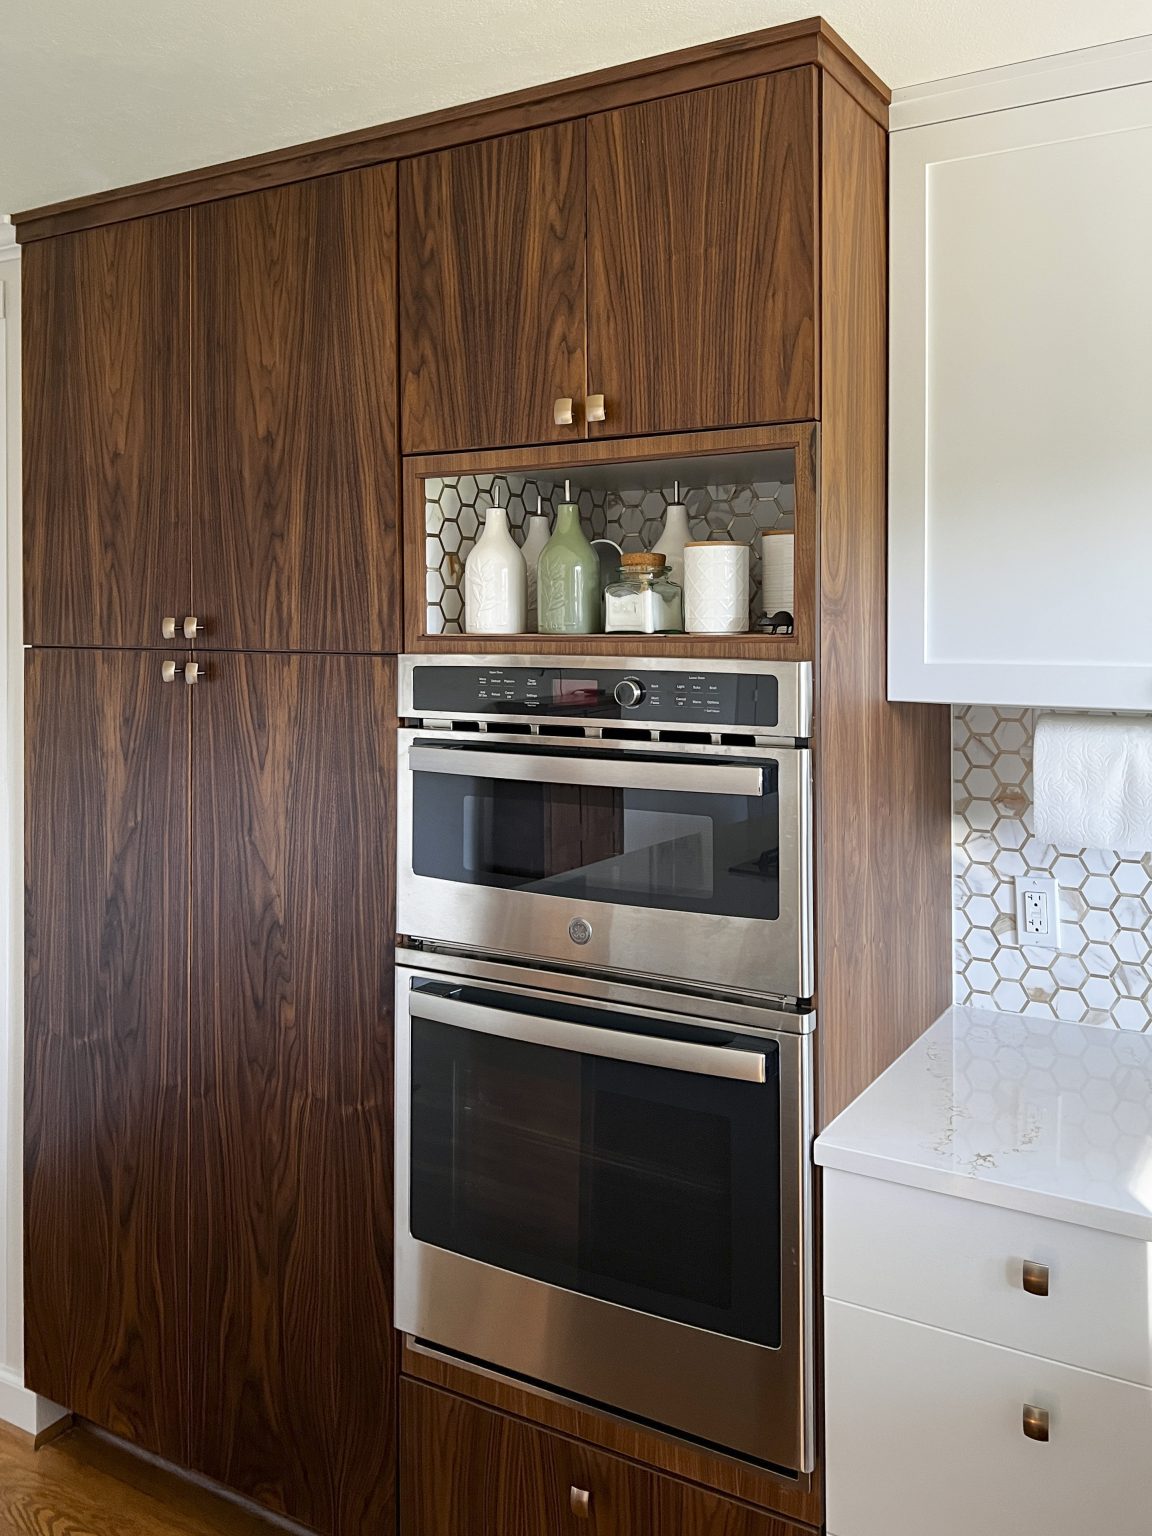
In the old kitchen, there used to be a panel hiding the space above the microwave. I soon realized this space was just sitting empty, and in my revamped kitchen, I was all about making the most of every inch. So, when I ordered the new cabinets, I specifically requested an open niche right above the microwave. Initially, I hadn’t planned to do much with it, but I ended up tiling the inside walls of this niche as well. Originally, it was just white, which was okay, but adding the same tiles tied the whole kitchen together beautifully. And here’s a quirky but effective DIY tip: instead of regular grout for this small area, I used white toothpaste! It worked like a charm and kept things simple and mess-free.
Wrapping Up
Everyone who comes over just loves these peel-and-stick tiles. They always start talking about them, and they’ve really become a key part of my kitchen’s look. It’s incredible how such a simple thing can make a huge difference.
I was super happy to find these marble-like tiles that didn’t have too much gray but more of a brown tone, matching perfectly with the walnut part of my cabinets and the colors in my quartz countertop. Initially, I bought three boxes, but after deciding to tile the niche above the microwave, I needed an extra one. So, in total, I used four boxes of these peel-and-stick tiles. And guess what? The total material cost was a little bit more than $200!
If I ever decide to switch things up and replace these tiles, it’ll be really easy and won’t cost much. All I’d need to do is peel them off the wall and put up a different style.
This whole project was a big win for me. It showed me you don’t have to spend loads of cash or be a pro to make your space look fancy. These Amazon tiles are proof that a bit of DIY can really change up a room, save you money, and impress your friends – all in about 15 hours of work.
So, if you’re thinking about sprucing up your kitchen (or any room, really), why not try DIY with these awesome tiles? And if you’re feeling stuck or just want a second opinion on your DIY project, don’t hesitate to reach out.