Kitchen Remodel Made Easy: How 3D Renderings Can Help You
Redesigning a kitchen can be an exciting yet challenging process. When my client wanted to revamp her kitchen, she felt overwhelmed by the numerous choices for countertops, backsplash tiles, and cabinet colors.
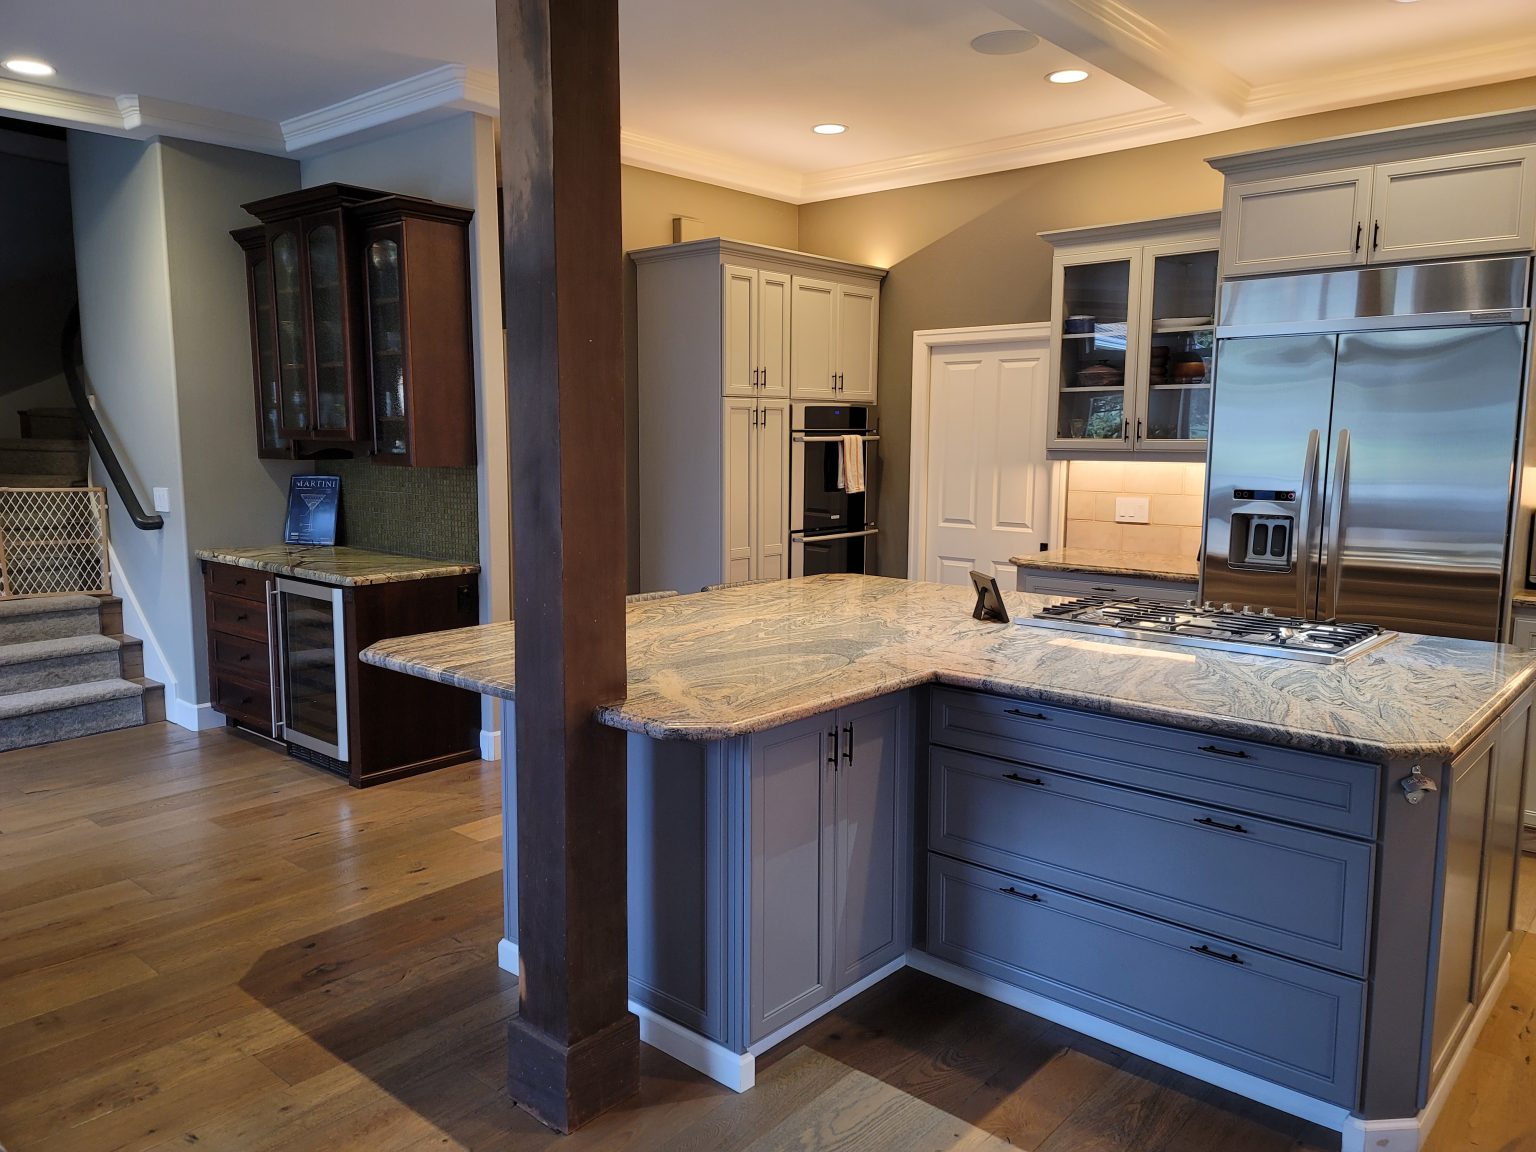
Before we dive into the transformation, let’s take a look at my client’s kitchen before the redesign. The kitchen had a combination of dark wood cabinets and a light tile backsplash. The countertops were a speckled granite, which, while functional, didn’t quite capture my client’s vision for a modern and cohesive space.
One of the main elements that my client initially didn’t like was the tile backsplash. She felt it was outdated and didn’t match the overall aesthetic she wanted for her kitchen.
After discussing various options, my client decided it was time to change everything and give her kitchen a fresh, updated look.
This decision marked the beginning of an exciting journey towards creating the kitchen of her dreams. By using 3D renderings, we were able to explore different design possibilities, ultimately leading to a stunning and cohesive new kitchen.
Step 1: Understanding My Client's Vision
My client had a few ideas in mind but wasn’t sure how they would look in her space. We started with a consultation where she shared her preferences for a modern yet cozy kitchen. She liked the idea of a marble-like countertop but was torn between a few shades for the cabinets. Although her favorite color was blue, she realized it didn’t match the rest of her open space kitchen. To ensure a cohesive look, we decided to stay within the green color range for the cabinets.
Step 2: Creating 3D Renderings
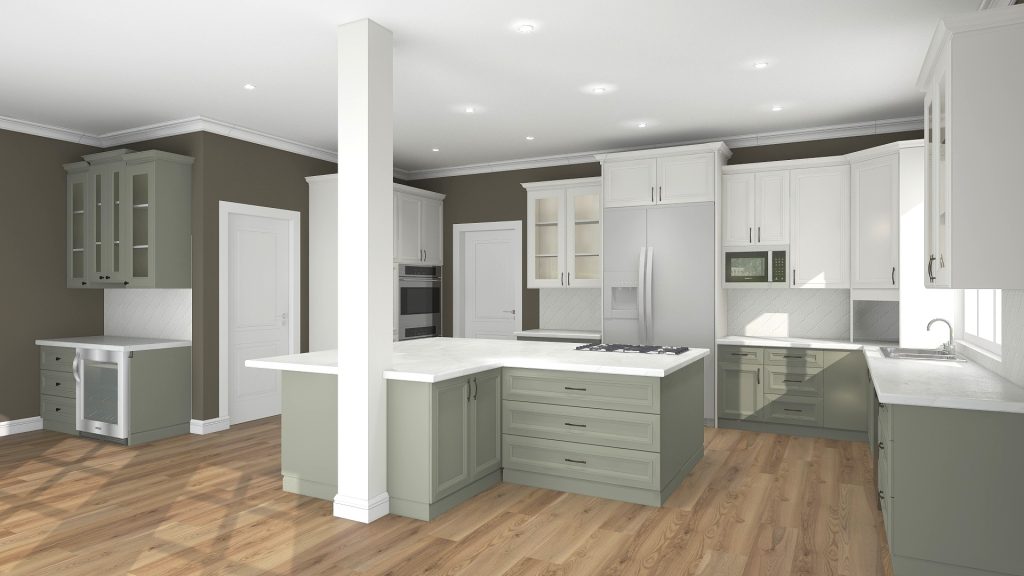
To help my client see her options clearly, I created multiple 3D renderings of her kitchen. Each rendering showcased different combinations of countertops and cabinet colors. This allowed her to see how each choice would look in her actual kitchen, rather than just imagining it. With the 3D renderings, my client could easily compare the different looks.
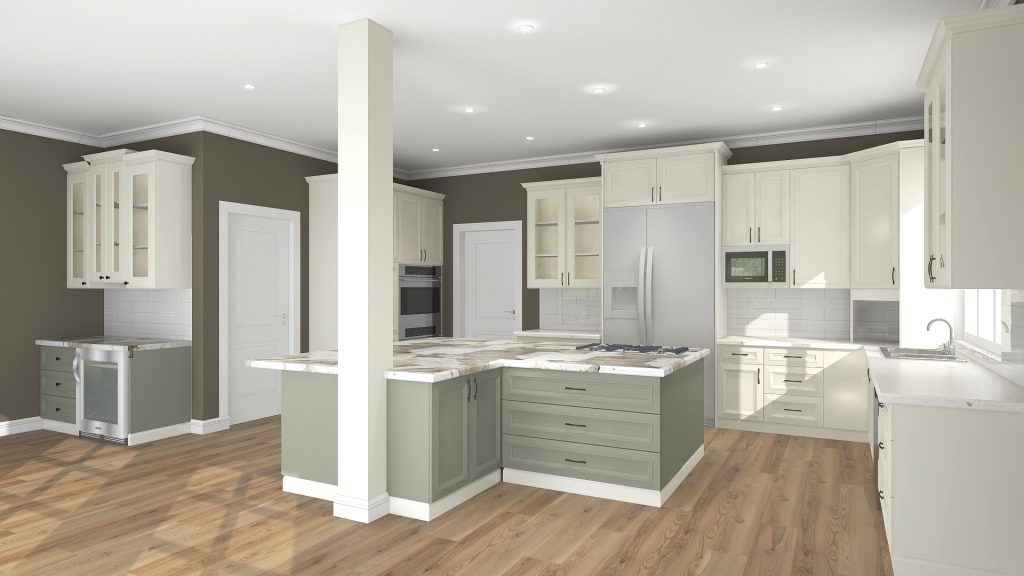
Cabinets: SW Evergreen Fog and SW Alabaster. Backsplash: oversized white subway tiles. Countertops: Khalo Stonika by Dekton and white quartz.
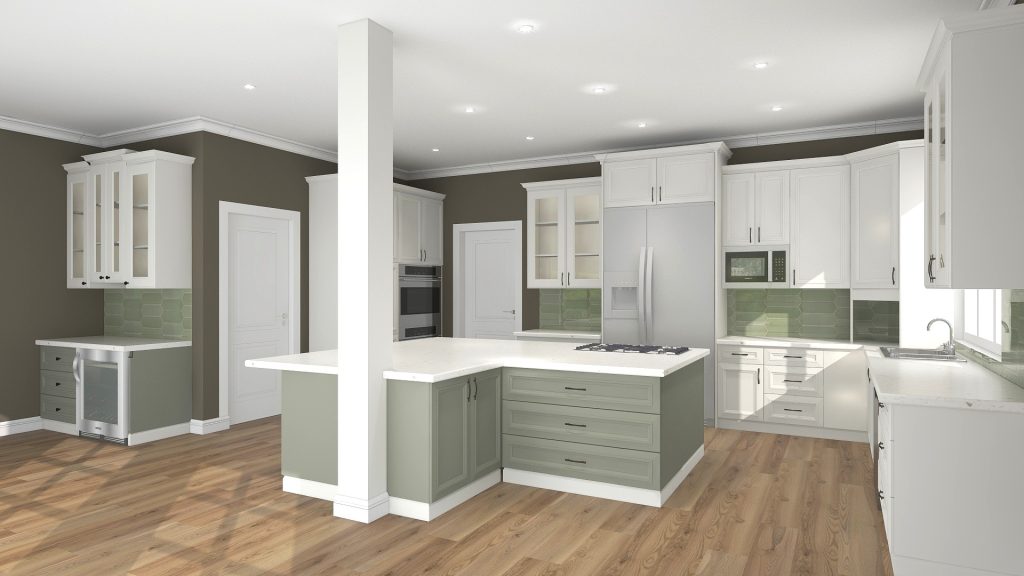
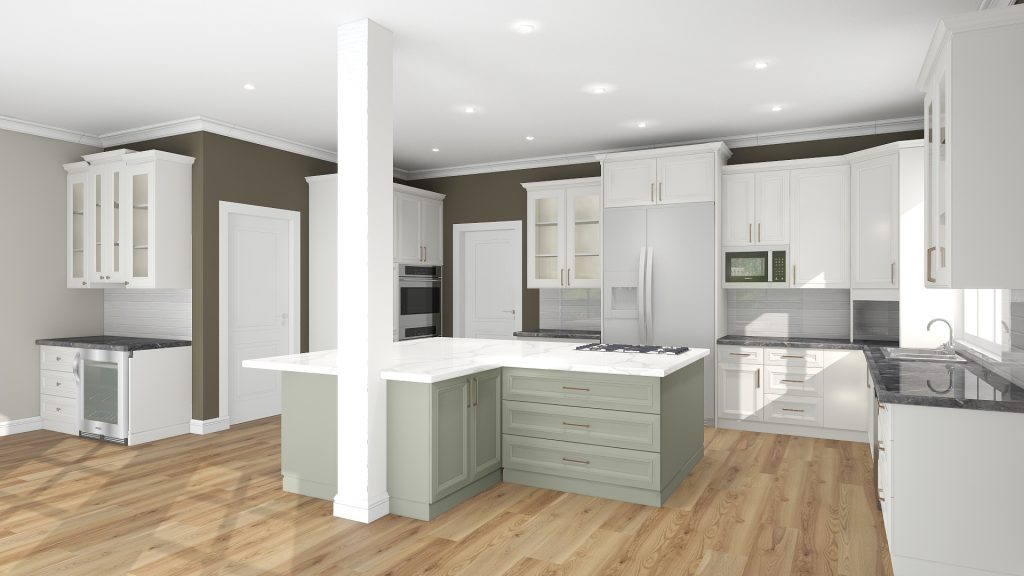
Cabinets: SW Evergreen Fog and SW Pure White. Backsplash: oversized green crayon tiles. Countertops: white quartz.
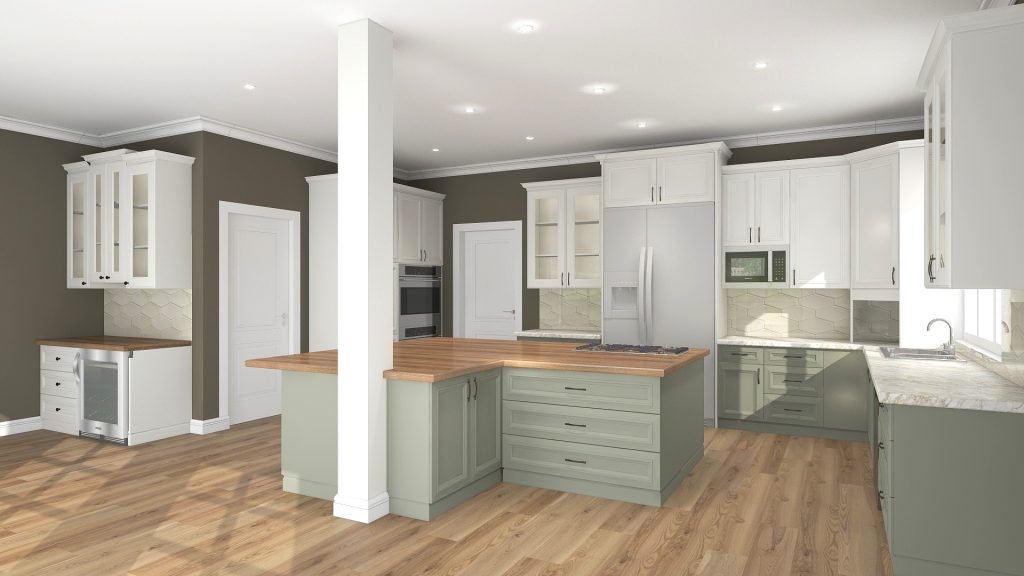
Cabinets: SW Evergreen Fog and SW Pure White. Backsplash: elongated hexagon ivory tiles. Countertops: butcher block wood and Calacatta Gold.
Cabinets: SW Evergreen Fog and SW Pure White. Backsplash: white arabesque tiles. Countertops: Cosentino Ethereal Glow.
Cabinets: SW Evergreen Fog and SW Pure White. Backsplash: white subway tiles, and green and white pattern tiles for the bar. Countertops: Calacatta Vienna.
Cabinets: SW Evergreen Fog and SW Pure White. Backsplash: elongated white subway tiles. Countertops: Calacatta Vienna and gray quartz.
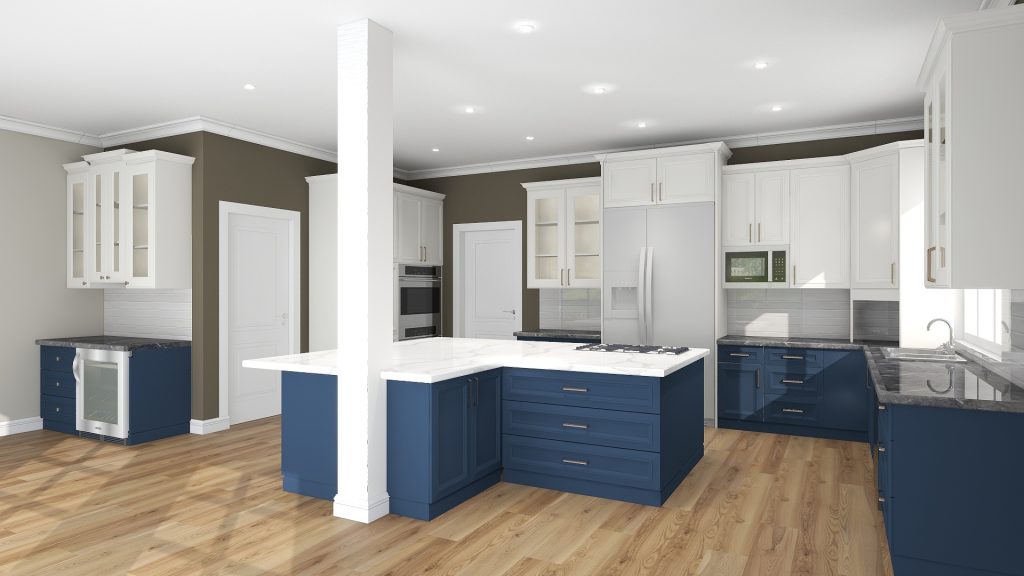
Cabinets: SW Indigo Batik and SW Pure White. Backsplash: elongated white subway tiles. Countertops: Calacatta Vienna and gray quartz.
Cabinets: SW Evergreen Fog. Backsplash: elongated white crayon tiles. Countertops: Calacatta Vienna and Malibu White quartz. SW Pure White for the walls.
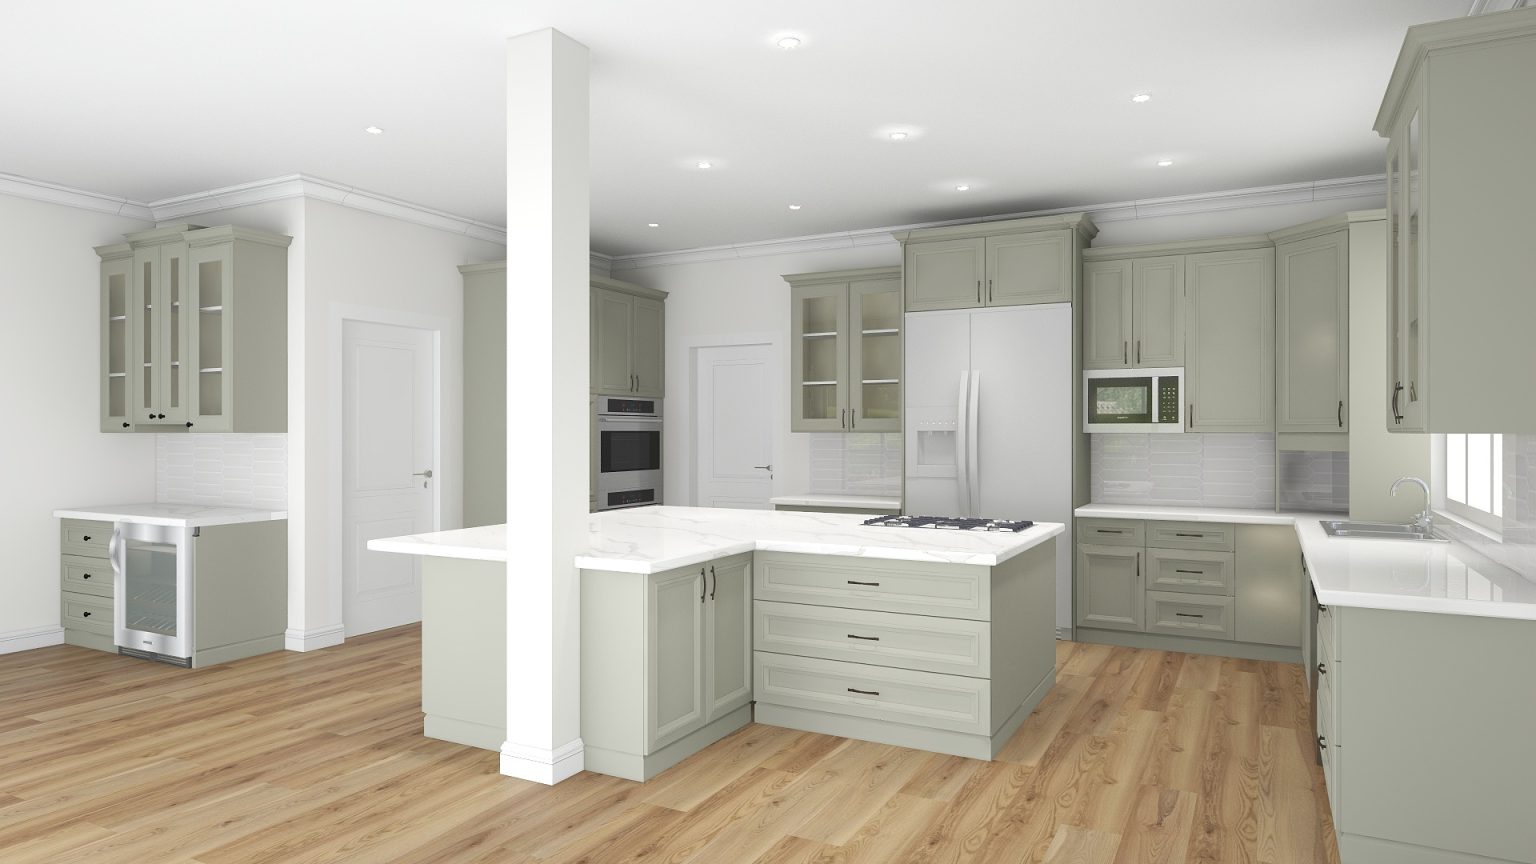
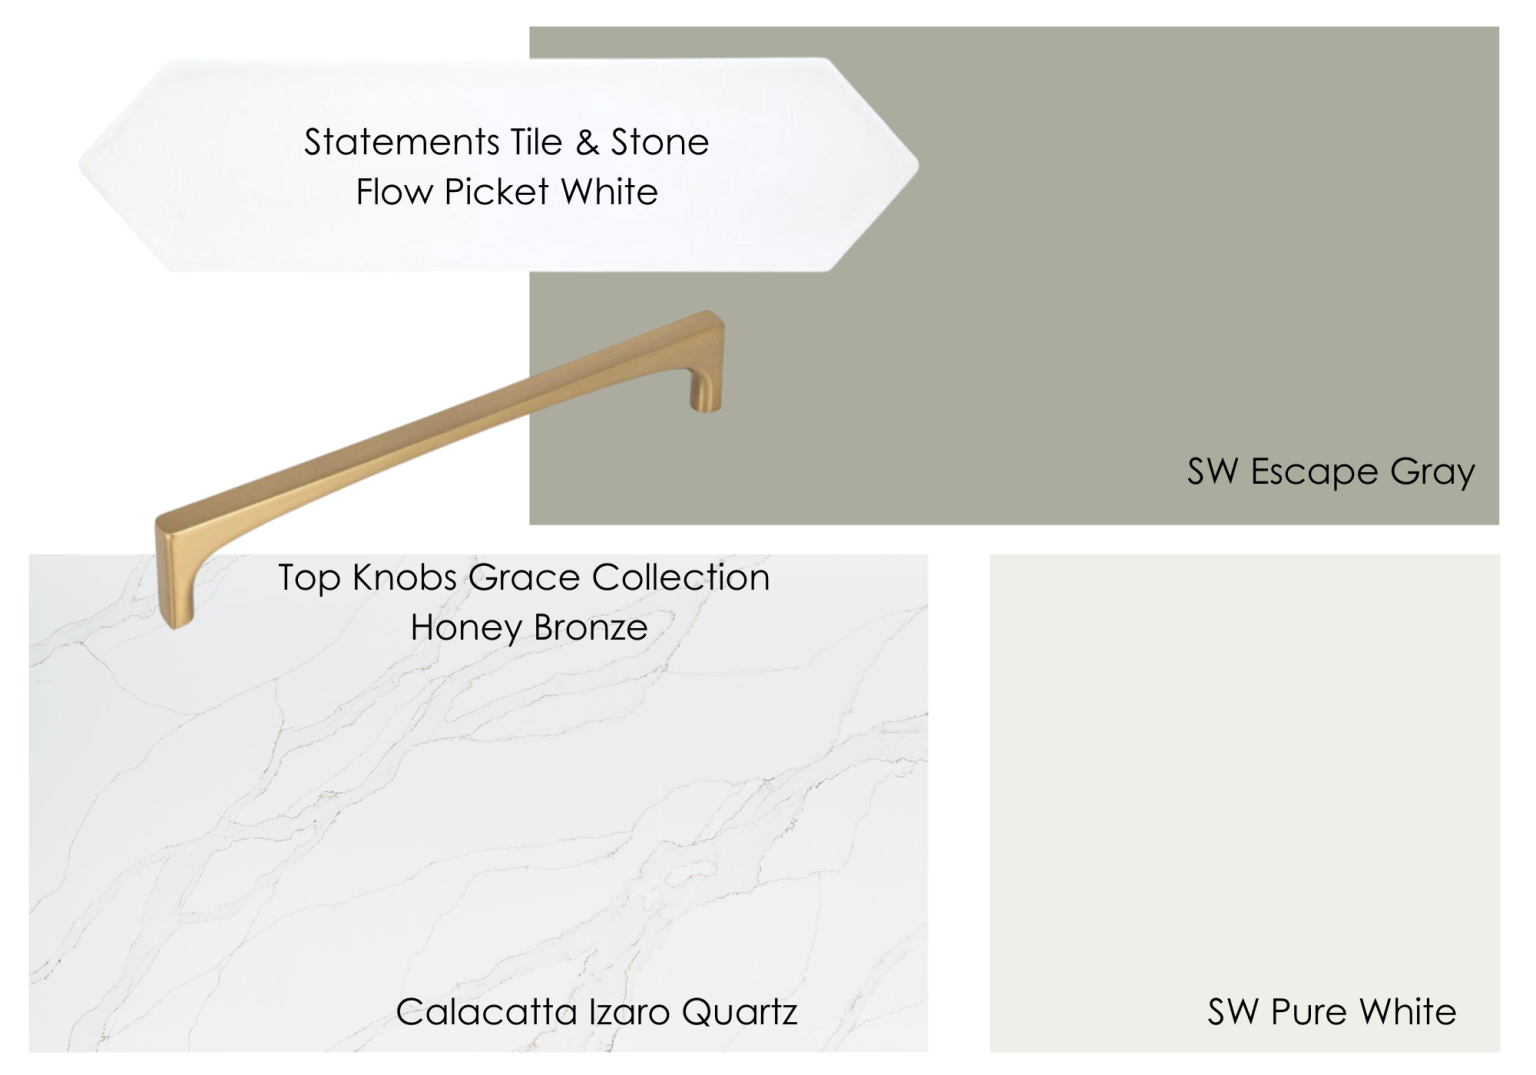
Cabinets: SW Escape Gray. Backsplash: elongated white crayon tiles. Countertops: Calacatta Izaro Quartz. SW Pure White for the walls.
Final kitchen concept board
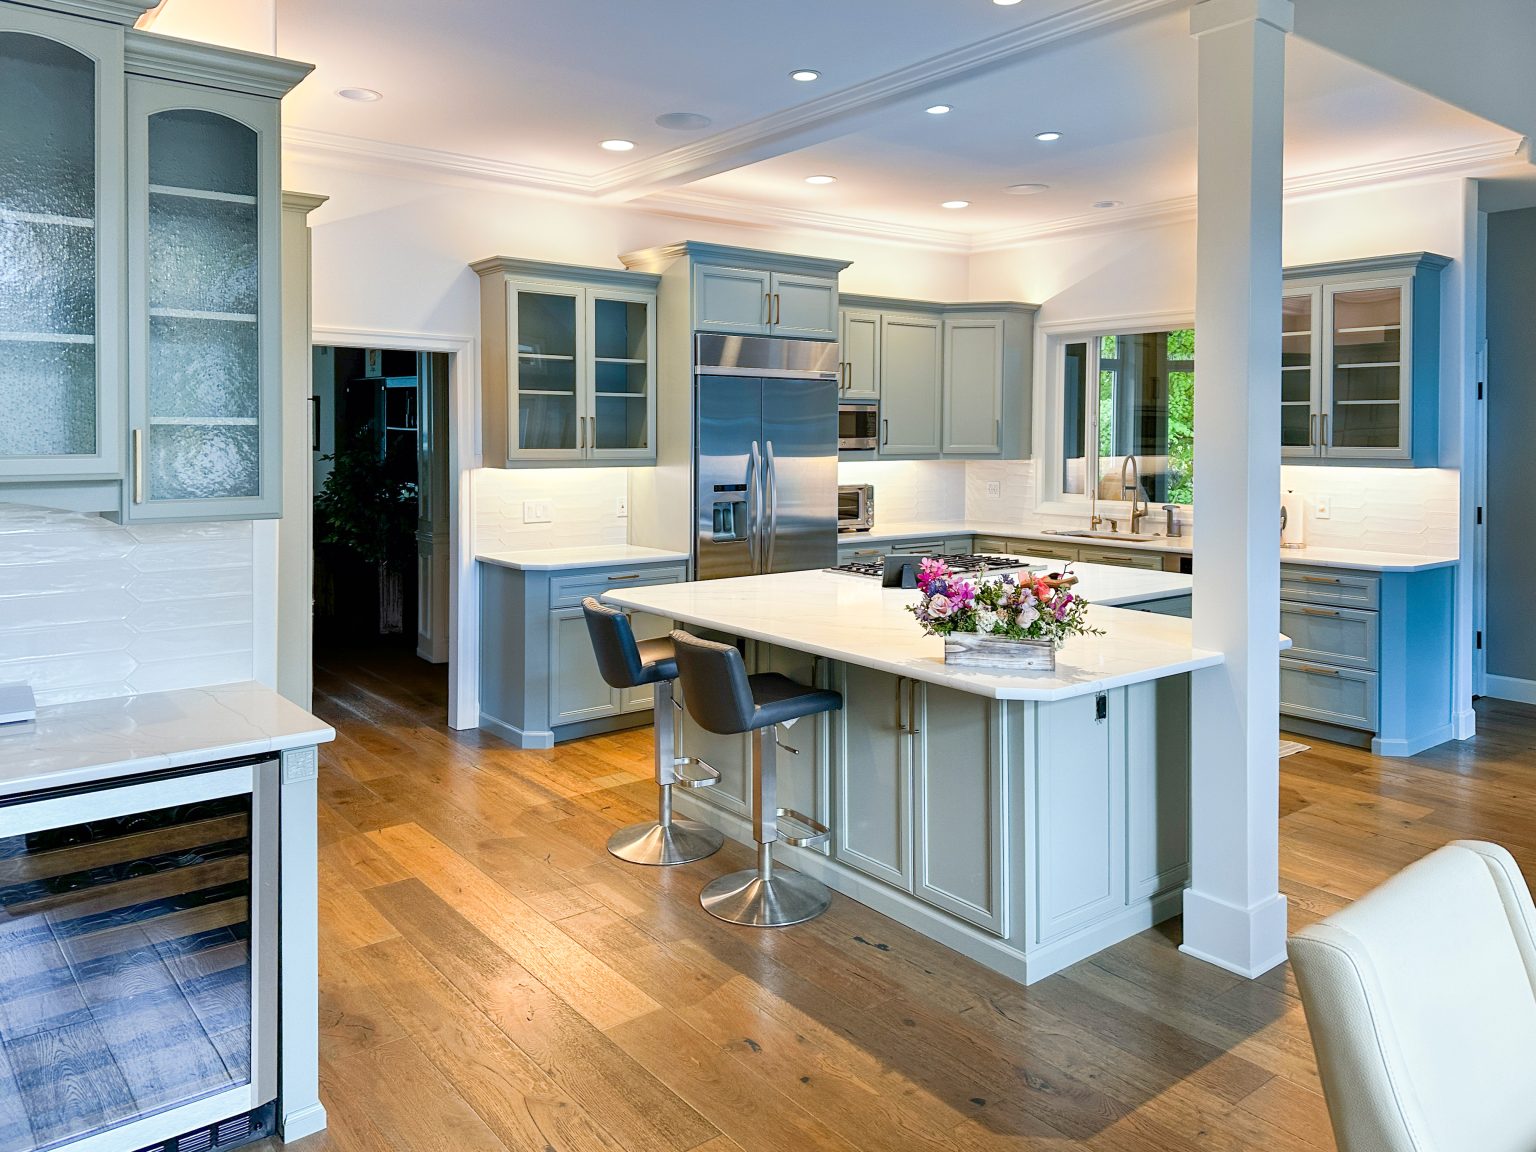
Step 3: The Big Reveal
Once the remodel was complete, my client was thrilled with the results. The after photos truly captured the transformation. The kitchen not only looked stunning but also felt like the perfect reflection of her style.
By using 3D renderings, we made the process smooth and enjoyable, turning her dream kitchen into a reality.
If you’re considering a kitchen remodel and need help visualizing your ideas, don’t hesitate to reach out. Together, we can create the perfect space for you!